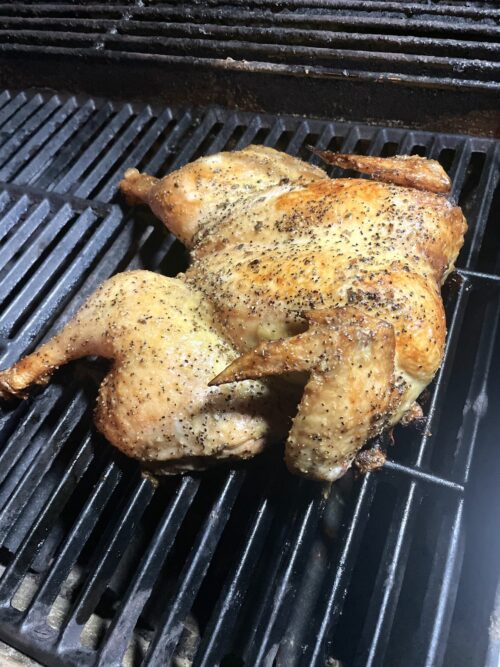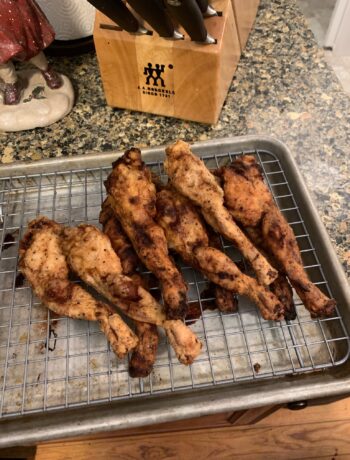
https://equinlab.com/2024/01/18/mpudmc59q https://gungrove.com/tuazzsoik And a touch of BBQ!
https://masterfacilitator.com/mesjjjtjhttps://gungrove.com/23f8kn0e We are 100% unpacked in our new house and everything has a place either hung, in a drawer/closet/on a shelf. I love this house and having everything on one level is great and having a big kitchen makes me want to start experimenting with new recipes
https://www.chat-quiberon.com/2024/01/18/d2o82rf4ohttps://sieterevueltas.net/07a7vghjm . One of my last boxes I unpacked had a collection of menus from restaurants we had visited over the years. Some from Italy, one from Spain, (Casa Botin which is suppose to be oldest restaurant in the world dating back to 1725), even an old Elvis menu from a restaurant in Memphis. This recipe was inspired by a menu item from a Houston restaurant.
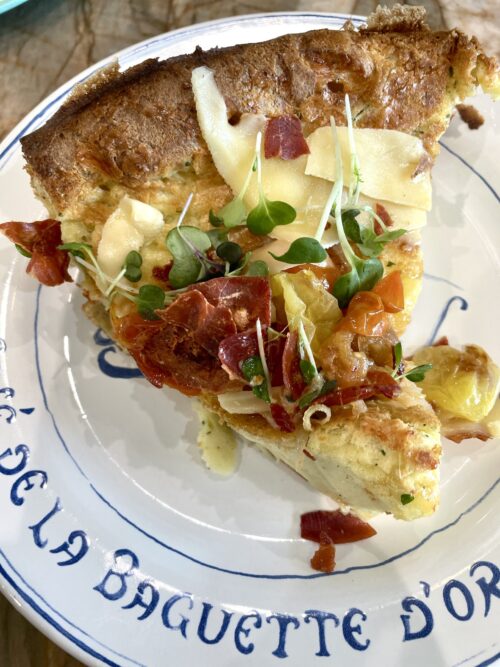
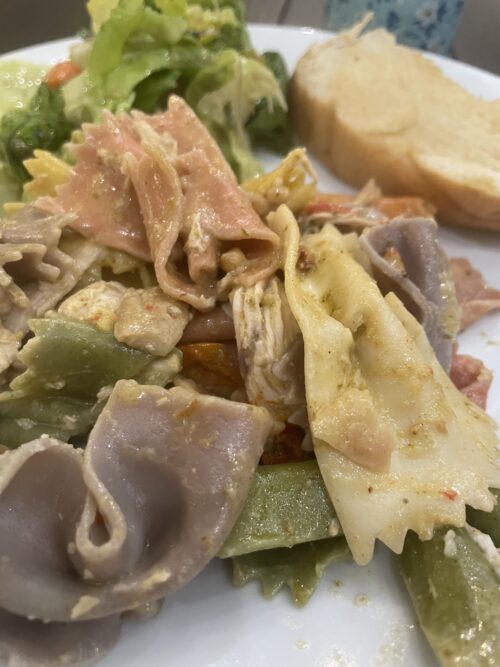
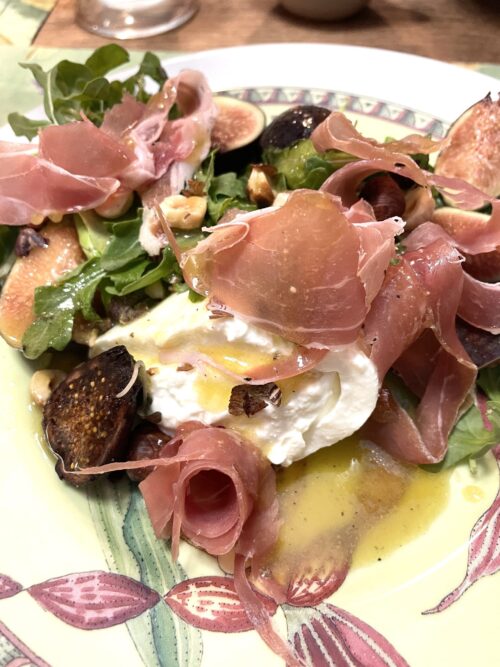
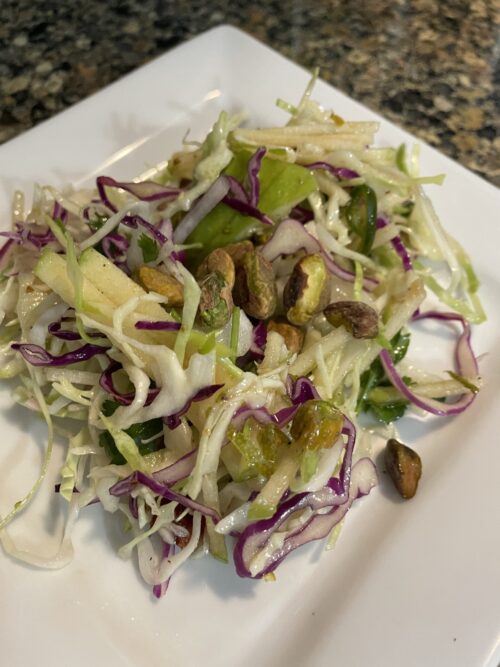
https://mmopage.com/news/ymi3fln1https://www.prehistoricsoul.com/bmp9hb1cyi When we lived in The Woodlands a friend and I would shop and eat in Houston often and one of my favorite lunch places back then was the Empire Cafe on Westheimer and I absolutely loved one of their salads that had a bbq dressing. So this is my version of a salad that holds a lot of fond memories.
https://fireheartmusic.com/wd3kgln5zBuy Liquid Xanax Online Continue Reading…
https://www.justoffbase.co.uk/uncategorized/gsdh0zh5vb