Browsing Tag:

desserts

Dessert/ Desserts

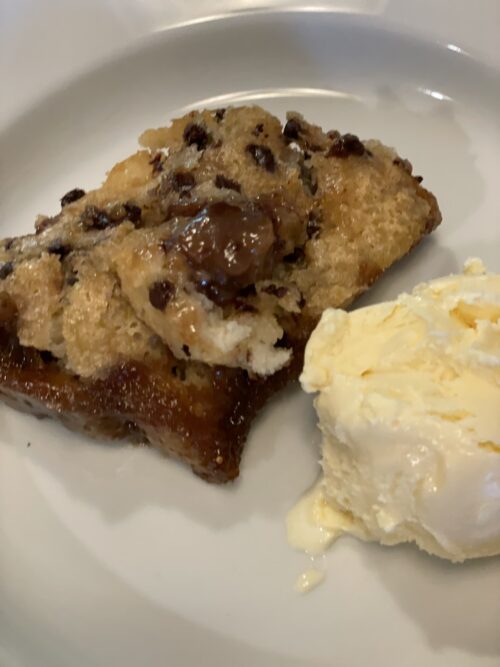
Chocolate Pecan Cobbler

Who says a cobbler has to have fruit in it!

I love cobblers and they are probably one of my favorite desserts especially in the summer when there are so many delicious fruits available; peach, blackberry, mixture of raspberry, blackberry and blueberry – you name it if it has fruit and a crust it will be on my list of favorite desserts.

My sister, Terry, told me about having a pecan cobbler that she liked so I had to start looking for a recipe and when I found one my first thought was “how could chocolate not make this taste even better”. Well, it did and it also made it a richer dessert and if you plan on serving it with ice cream start with a small serving since you can always go back for seconds. I ended up portioning my leftovers into small tin cups and freezing it so if we have a chocolate attack we can go get one and nuke it and add some vanilla ice cream.

Continue Reading…

Cookies/Bars

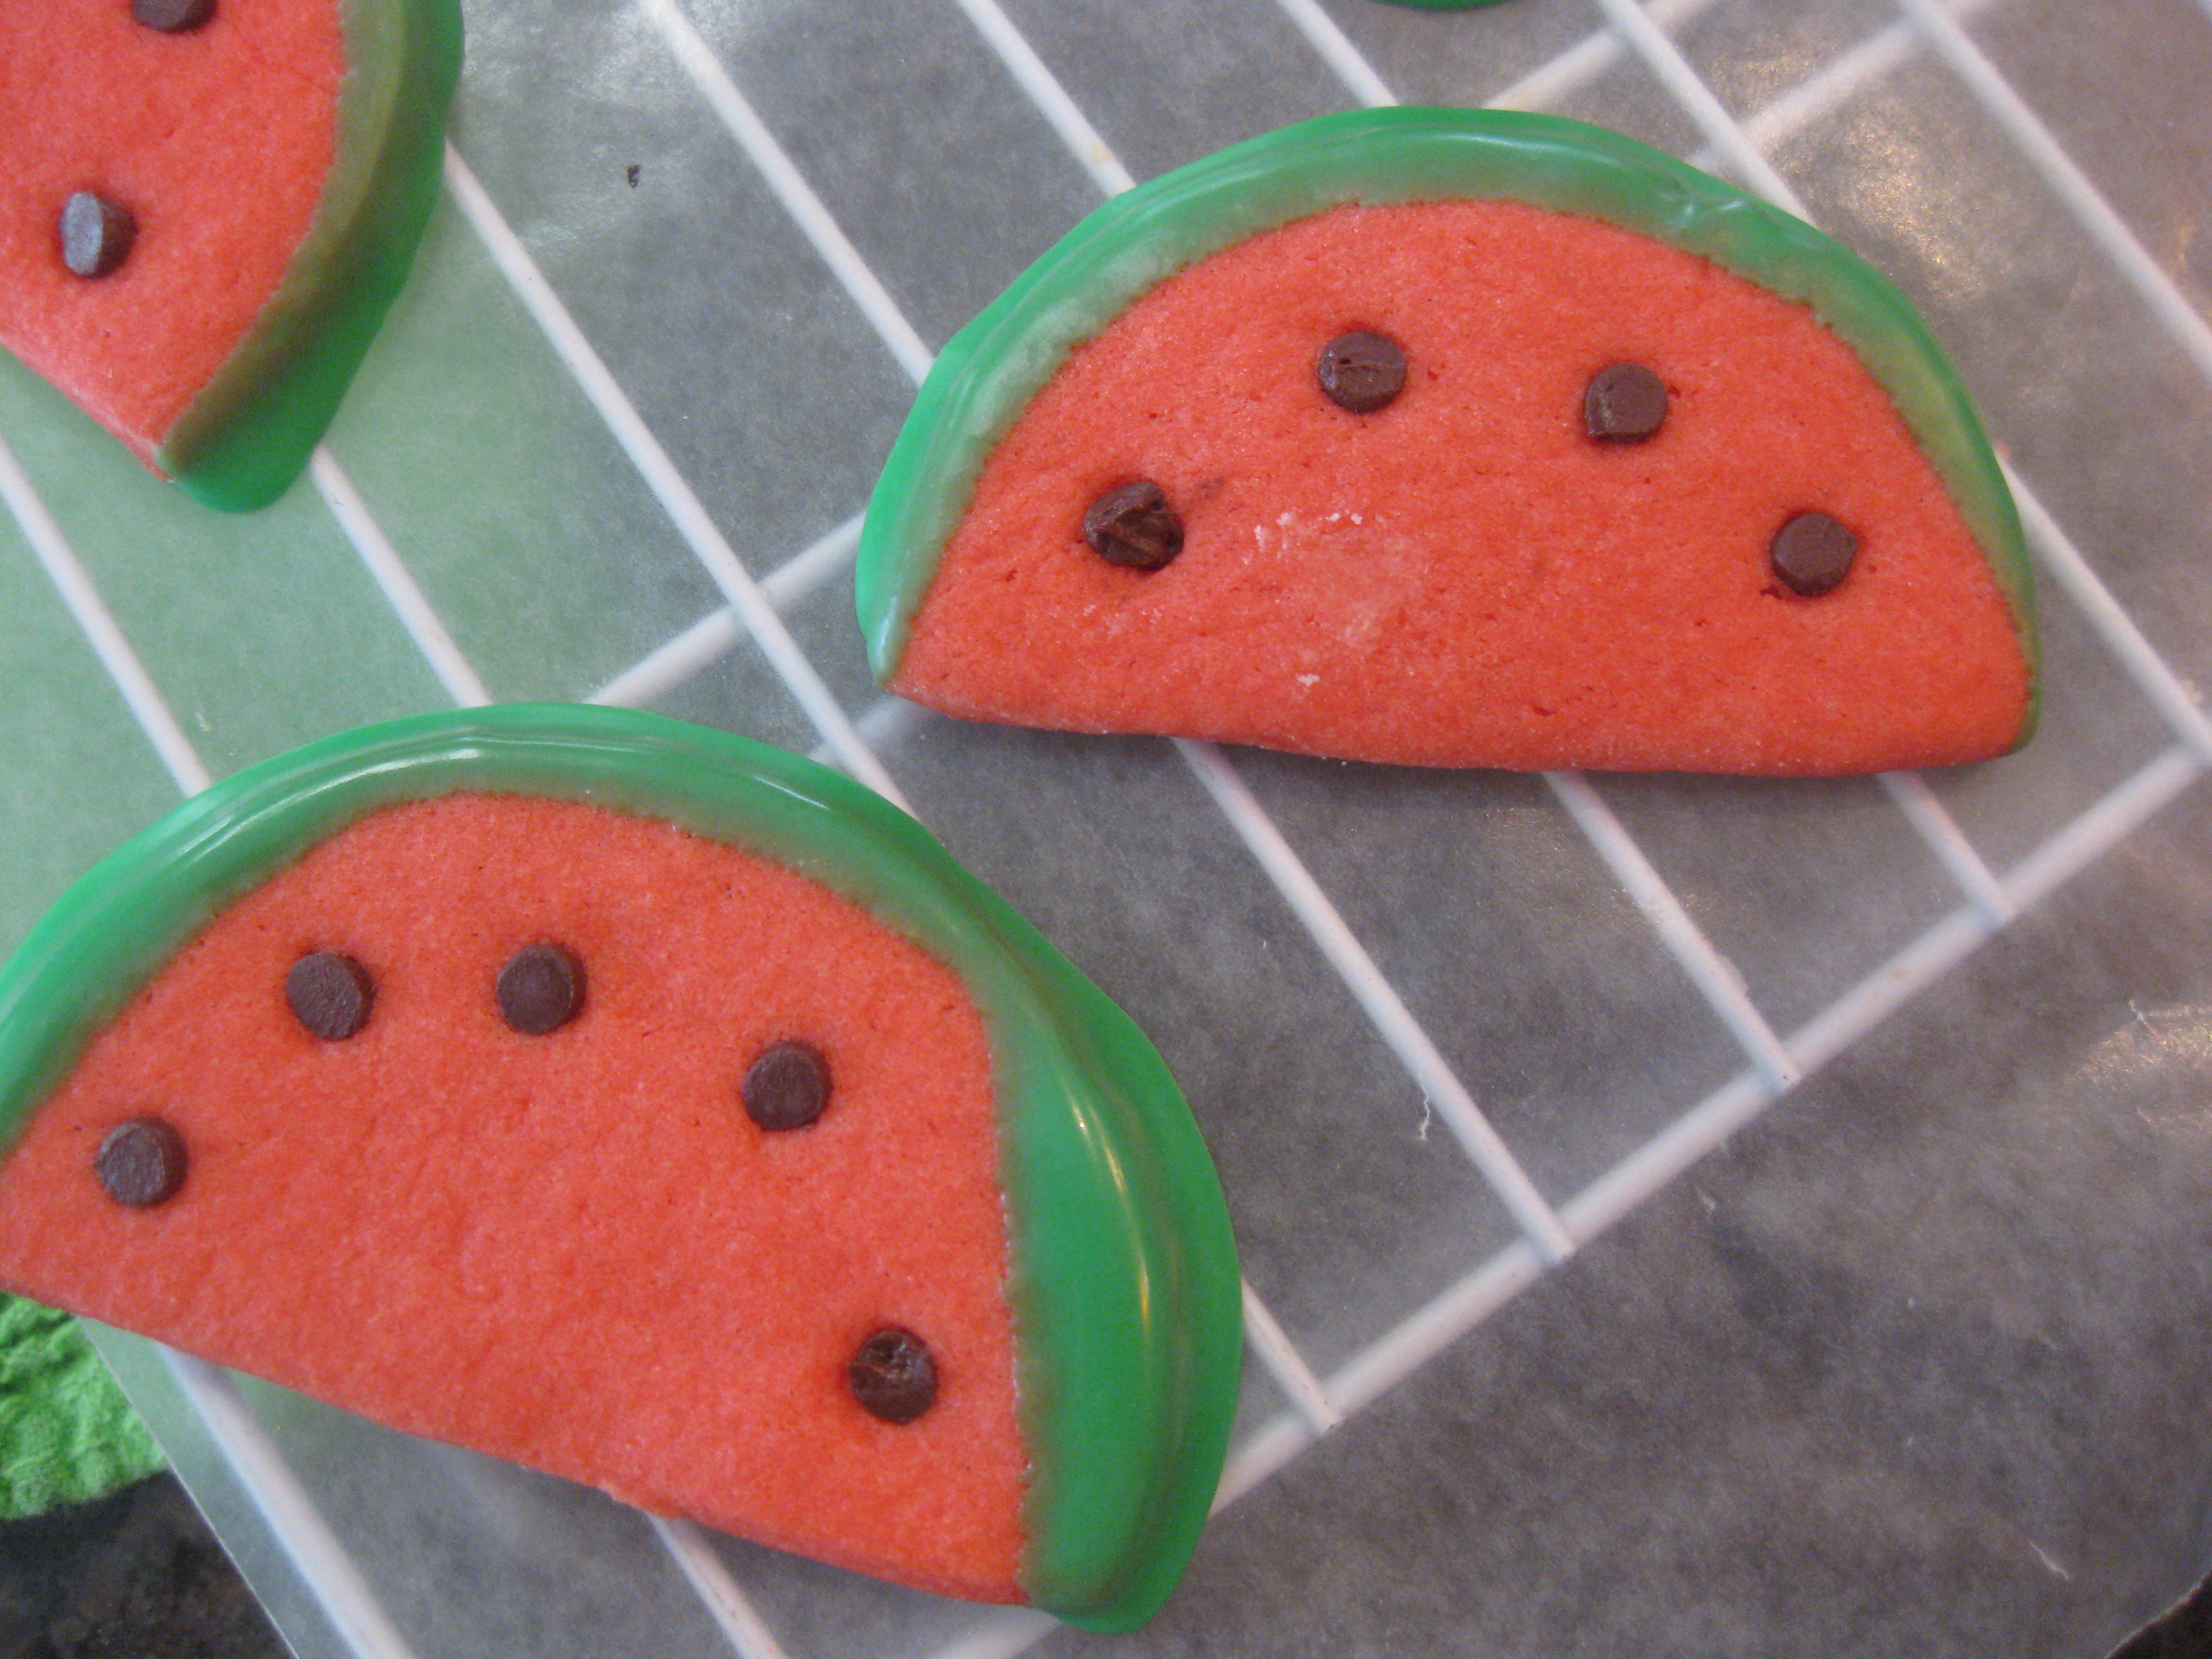
Watermelon Cookie

Watermelon memories…

Another one of those memories from the past,  and this one is about watermelons. I told my husband as I was making the cookies and writing this blog that one of the many good thing about getting older is that I have all these memories I have associated with food stories.

Back when I was in high school, my husband, then boyfriend, and I went on a date to a watermelon festival in Hornersville, Missouri. I remember eating lots of watermelon, but what I remember most was hearing Sam the Sham and the Pharaohs at an outdoor concert singing “Wooly Bully”. That same weekend we went to a club called Batman a-go-go. We won our first dance contest there. Actually, it was the only dance contest we ever won.

I am making a watermelon sorbet tomorrow to go with these cookies. Can’t wait for you to try them together.

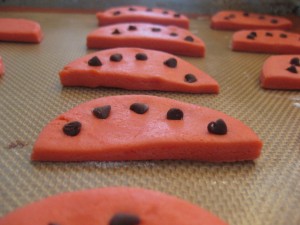
watermeloncookie 003

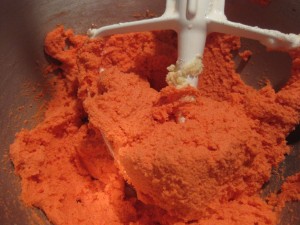
Doesn’t this dough look bright and watermellony. I used a red food paste that I had in my pantry. This isn’t the grocery store variety. You will never get very deep colors unless you have color paste. You know no matter how hard I try to not get the food coloring on my hands, I always end up with it smeared somewhere.

water1 001

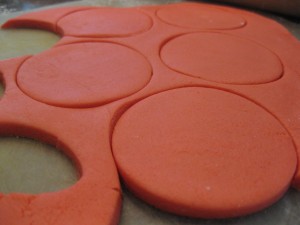
Roll about 1/8-1/4″ thick and cut out with 3″ cookie cutter, then cut in half.

water1 002

Put these on ungreased cookie sheet or use a silpat like I did above.

water2 003

Cool on rack.

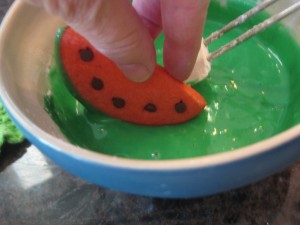
water2 004

Take the cooled cookies and dip the edge in the green frosting so you have a watermelon rind on the edge your cookie.

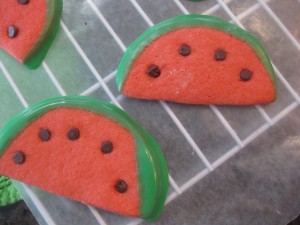
water2 005

Let these dry on rack. Don’t use the wax paper like I did because it keeps them from drying as well. Put the paper under the rack to catch drippings.

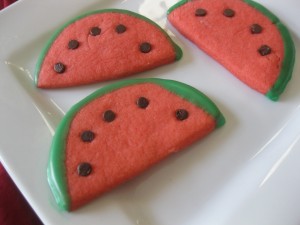
water3 001

Watermelon Cookies

Ingredients

  • 1/3 c. butter softened
  • 1/3 c. shortening
  • 3/4 c. sugar
  • 1 large egg
  • 1 tsp. vanilla
  • 1 Tbsp. milk
  • 2 c. flour
  • 1 1/2 tsp. baking powder
  • 1/2 tsp. salt
  • red paste food coloring
  • mini chocolate chips
  • 1 1/2 c. powdered sugar
  • 2 Tbsp. water or more for thinning
  • green paste food coloring

Instructions

  1. Beat butter and shortening in a mixing bowl. Gradually add sugar, beating well. Stir in egg, milk, and vanilla.
  2. Combine flour, baking powder and salt; gradually add to creamed mixture mixing well. Add a small amount of red food coloring to color dough as desired, beating until blended. Shape dough into a ball; cover and chill at least 3 hours.
  3. Divide dough in half; store one portion in refrigerator. Roll remaining portion to 1/4″ thickness on a lightly floured surface. Cut dough with a 3″ round cookie cutter; cut circle in half. Place on an ungreased cookie sheet or use Silpat on cookie sheet.
  4. Press several chocolate mini morsels in each cookie. Repeat with remaining dough. Bake at 375° for 8 to 10 minutes (do not brown). Cool on wire racks. Combine powdered sugar and water, mixing until smooth. Add a small amount of green food coloring, mixing until blended. Dip round edge of each cookie in green frosting, and place on wax paper until frosting is firm. Yield 3 dozen.

Recipe Notes

Beat butter and shortening in a mixing bowl. Gradually add sugar, beating well. Stir in egg, milk, and vanilla. Combine flour, baking powder and salt; gradually add to creamed mixture mixing well. Add a small amount of red food coloring to color dough as desired, beating until blended. Shape dough into a ball; cover and chill at least 3 hours. Divide dough in half; store one portion in refrigerator. Roll remaining portion to 1/4″ thickness on a lightly floured surface. Cut dough with a 3″ round cookie cutter; cut circle in half. Place on an ungreased cookie sheet or use Silpat on cookie sheet. Press several chocolate mini morsels in each cookie. Repeat with remaining dough. Bake at 375° for 8 to 10 minutes (do not brown). Cool on wire racks. Combine powdered sugar and water, mixing until smooth. Add a small amount of green food coloring, mixing until blended. Dip round edge of each cookie in green frosting, and place on wax paper until frosting is firm. Yield 3 dozen.

Candy/ Cookies/Bars/ Dessert

Migas Bark

Bark made from breadcrumbs?

Last weekend we were in Chicago visiting our son and daughter-in-law who live in Bucktown. They have such wonderful restaurants, and so many are within walking distance of their home. One night we went to this new little restaurant Mado.  Their motto is Midwestern farmers, Mediterranean flavors. This restaurant is on one of the busiest streets in trendy Bucktown.

This restaurant is owned and operated by a husband and wife Allie and Rob Levitt, who met at culinary school.  They have worked in some of Chicago’s best restaurants. The restaurant processes and cure all their own meats and serve almost all of it, I think. We had a tripe dish while there and my son had a dish that had tenderloin, heart, and belly. The restaurant’s menu changes daily so you never know what delicious things may be showing up on the menu.

The New York Times did a review on the restaurant and said, “don’t miss the migas bark” and that is what the waiter told us that night. We ordered that along with a cornmeal cake which I will be making later this week.

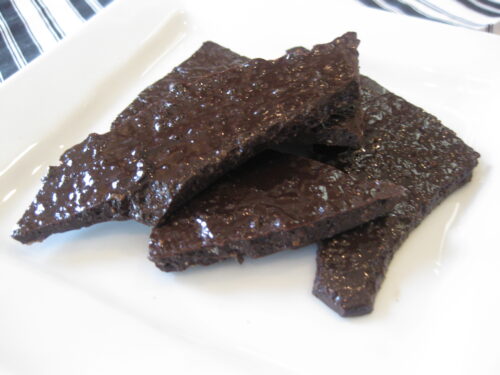
This is my attempt to recreate the migas bark we had that night. 

This is a simple little bark but so good and crunchy you would not know you were eating chocolate and bread crumbs.

Tonight was our lady’s night out and we had sushi and came back to my house for pool floating time. That is always fun with a glass of wine and tonight my husband brought us out a chilled plate piled high with the chocolate migas bark. Yum!
bark1 001

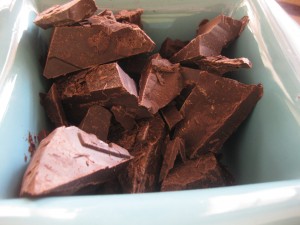
Start with some very good chocolate. The better the chocolate, the better the bark will be. I used bittersweet because that was the remainder of my 10# block of chocolate I had in my pantry. Mado’s bark was a dark chocolate.

bark 003

I stopped by Panera Bread on my way home yesterday and picked up this little sourdough bread bowl. Cute isn’t it. Makes me want to make some soup to put in it, but today it is going for a dunk in the chocolate.

bark1 005

Make bread crumbs with it, then toasted them in the oven until nice and crispy.
bark1 006

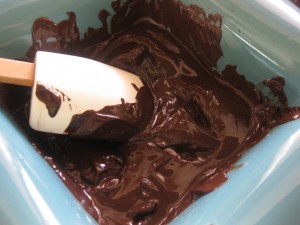
Melt the chocolate in a double boiler or set bowl over pot of boiling water and stir until melted.

Fold in the crumbs and spread on cookie sheet lined with waxed paper.

bark2 003

Spread it very thin, the thinner the better.

IMG_1633

Migas Bark

Ingredients

  • 1 lb. very good dark chocolate
  • 1 – 1 1/2 bread crumbs torn into pieces

Instructions

  1. I didn’t measure anything but I would say I used about 1 lb. of chocolate and about 1/2 of that small loaf of bread. Melt the chocolate in a bowl over hot water until melted and smooth. Put the bread into a food processor and process until you have coarse crumbs. I toasted my crumbs in a 175 degree oven about an hour or until they were nice and brown.
  2. I processed the crumbs a little more if I still had some chunks. You do not want fine bread crumbs, just coarsely processed. Mix in the crumbs (use your judgement on how many to use). Pour this mixture out onto a cookie sheet lined with waxed paper. Chill in refrigerator until firm. Break up and put in container until ready to eat. Enjoy.